
ReList journal
ReList Supplier Onboarding: Go Live in Hours, Publish Now and Verify Later
Supplier onboarding on ReList takes you from registration to a live listing resellers can actually find and sell. Open the supplier registration portal, complete a basic profile, and you can have a product visible in the marketplace within days, not weeks. The catch is sequencing: publish what you can immediately, then layer in tax forms, verification, and fulfillment detail as your first orders approach.
TL;DR:
- Suppliers can list their first product within hours if they only need to provide basic information and upload initial documents, but complex setups may take several days to weeks.
- Verifying documents such as government IDs, business registration, and beneficial owner info is essential for compliance and can slow onboarding if not prepared in advance.
- Uploading unique images early influences listing engagement more than perfect descriptions, and suppliers should avoid delaying the photo pack to increase click-throughs.
- Key metrics like time-to-activation and time-to-first-sale help evaluate onboarding success, with proactive support reducing drop-off points during the process.
- Deferring payout and tax setup until near the first sale improves supplier completion rates and streamlines early onboarding.
Table of Contents
- What Are the Steps in the Supplier Onboarding Process?
- How Does Supplier Onboarding Differ From Buyer Onboarding?
- What Documents Do You Need for Supplier Verification?
- How Do You Upload a Catalog and Set Up Fulfillment?
- What Support and Metrics Matter After Onboarding?
- What I’ve Noticed Watching Suppliers Onboard
- Ready to List Your First Product on ReList?
- Sources
- FAQ
What Are the Steps in the Supplier Onboarding Process?
A well-run supplier onboarding process follows a predictable arc: register, verify, list, get paid, sell. Vendor onboarding across most marketplaces includes registration, document review, catalog setup, technical integration, training, and launch, and ReList’s version compresses that arc so suppliers aren’t stuck in review purgatory before they’ve listed a single item.
Here’s the realistic order of operations:
- Check eligibility and pick your entry path. Some suppliers get an invite link with pre-filled details; others self-serve from the public registration page. Either way, you’ll need a business name, contact email, and product category before you start.
- Create your account. Fill in your legal business name, primary contact, product category, and country of operation. Skip anything not marked required.
- Upload documents you already have on hand. Business registration and a government ID cover most cases. Defer anything tied to banking or tax until later in the flow.
- Accept the supplier agreement. ReList timestamps acceptance automatically, which matters later if a fulfillment or pricing dispute comes up.
- Build your catalog. Add a single SKU manually, upload a CSV for bulk catalogs, or connect through the API if you’re syncing inventory from another system.
- Order a photo pack for your listings. Unique images tend to outperform stock photos on trust and click-through.
- Set up payout and tax details when prompted, typically once your first sale is close, not before.
- Run an activation test. Preview your listing exactly as a reseller would see it, then confirm go-live.
- Handle the follow-up tasks, like confirming inventory sync and responding to your first reseller inquiry inside 24 hours.
Two things trip up new suppliers here: uploading incomplete product descriptions because they’re rushing to hit “publish,” and ignoring the agreement timestamp step, which matters more than it looks once a fulfillment question comes up weeks later.
How Does Supplier Onboarding Differ From Buyer Onboarding?
Reseller (buyer-side) onboarding is about browsing and sourcing. Supplier onboarding is measured differently: activation means your listing is live and generating views or reseller inquiries, not just that your account exists.
Timelines vary a lot depending on your setup:
- Simple, self-serve suppliers (single product line, manual catalog entry): a few hours to two days.
- Complex suppliers needing KYB checks, multiple SKUs, or API integration: several days to a few weeks, largely dependent on document turnaround.
Speed tip: splitting required fields from optional ones, pre-filling known data, and giving suppliers a live preview of their listing before submission all cut time-to-activation meaningfully, according to onboarding research from Kompassify. Watch for early drop-off between account creation and catalog upload. That’s usually where a supplier gets stuck on a document request and quietly abandons the process, so it’s the point where a nudge email or support ping does the most good.
What Documents Do You Need for Supplier Verification?
Compliance work is where onboarding slows down if you’re not prepared. A solid supplier vetting checklist should include seller classification, KYC/KYB verification, sanctions and PEP screening, and beneficial owner collection, with periodic re-screening after approval rather than a one-time check.
What you’ll typically need, by supplier type:
- Individual sellers: government-issued ID and proof of address.
- Registered businesses: business registration certificate, tax ID, and UBO (ultimate beneficial owner) information for entities with multiple stakeholders.
- High-volume or international suppliers: additional sanctions and AML screening, since automated checks scale far better than manual review for these cases.
Tax forms and payout banking details don’t need to go in on day one. Seller onboarding research consistently finds that deferring financial setup until a sale is imminent reduces early abandonment, since suppliers are far more willing to fill in banking details once money is actually on the table.
Pro Tip: Name your document files clearly before uploading (e.g., “business_license_2026.pdf” instead of “scan001.pdf”). OCR and document parsing tools read structured filenames faster, and clean naming shaves real time off manual review queues.

How Do You Upload a Catalog and Set Up Fulfillment?
Catalog setup is where suppliers either build something reseller-ready or create a listing nobody clicks. Pick the upload method that matches your inventory size:
- Single-entry for suppliers with a handful of products, added directly through the portal.
- CSV bulk upload for catalogs in the dozens-to-hundreds range, mapped against a standard template.
- API import for suppliers syncing live inventory from an existing system, which digital-first onboarding models increasingly favor for cutting onboarding time from weeks to days.
Once your SKUs are in, order a photo pack rather than relying on manufacturer stock images. Unique photography per listing tends to build more buyer trust in a resale marketplace where the same product might otherwise appear identically across ten different seller pages. Follow the image spec sheet closely: correct resolution and clean metadata mean your listing renders properly across web and mobile without a resubmission cycle.
For pricing, set your base cost and let the platform fee sit clearly on top, so resellers see what they’re marking up. On fulfillment, define your handling time and shipping responsibility upfront. Suppliers store and ship the item post-sale under this model, so lead-time accuracy directly affects how resellers rate the experience.
What Support and Metrics Matter After Onboarding?
Getting listed is the start, not the finish line. Suppliers have access to in-app help, a dedicated support channel, and a knowledge base for catalog and payout questions. A real-time progress tracker moves through clear states, such as “profile incomplete,” “pending verification,” and “live,” with each state indicating the action expected next.
Track these numbers to know if onboarding is actually working:
- Completion rate: the share of suppliers who finish registration and reach a live listing.
- Time-to-activation: how long from sign-up to first live listing.
- Time-to-first-sale: the real test of whether a listing was worth publishing.
- Drop-off points: where suppliers stall, usually at document upload or catalog entry.
Platforms that pair automated status dashboards with proactive check-ins see less drop-off during the onboarding window than those relying on suppliers to self-report problems. A short follow-up message a few days post-launch, paired with a two-minute training module on pricing or photo optimization, tends to move a stalled listing toward its first sale faster than leaving suppliers to figure it out alone.
What I’ve Noticed Watching Suppliers Onboard
Most first-time suppliers over-prepare the wrong fields. They’ll agonize over a perfect product description while leaving pricing blank, when publishing a decent listing fast beats a polished one that’s still sitting in draft. Order your photo pack early. It’s the one step suppliers routinely delay, and it’s often the difference between a listing that gets clicks and one that doesn’t. It’s also worth keeping your own record of core supplier details, like lead times and direct contact info, outside any single platform. Marketplaces come and go, but your relationships and data shouldn’t be locked to one dashboard.
— Nikodemas
Ready to List Your First Product on ReList?
ReList is built around one idea: suppliers shouldn’t need a warehouse of inventory data or a fulfillment team to start selling. The photo pack system gives every listing unique images without a professional shoot, the progress tracker shows where your onboarding stands at every step, and the pricing model shows the platform fee clearly.
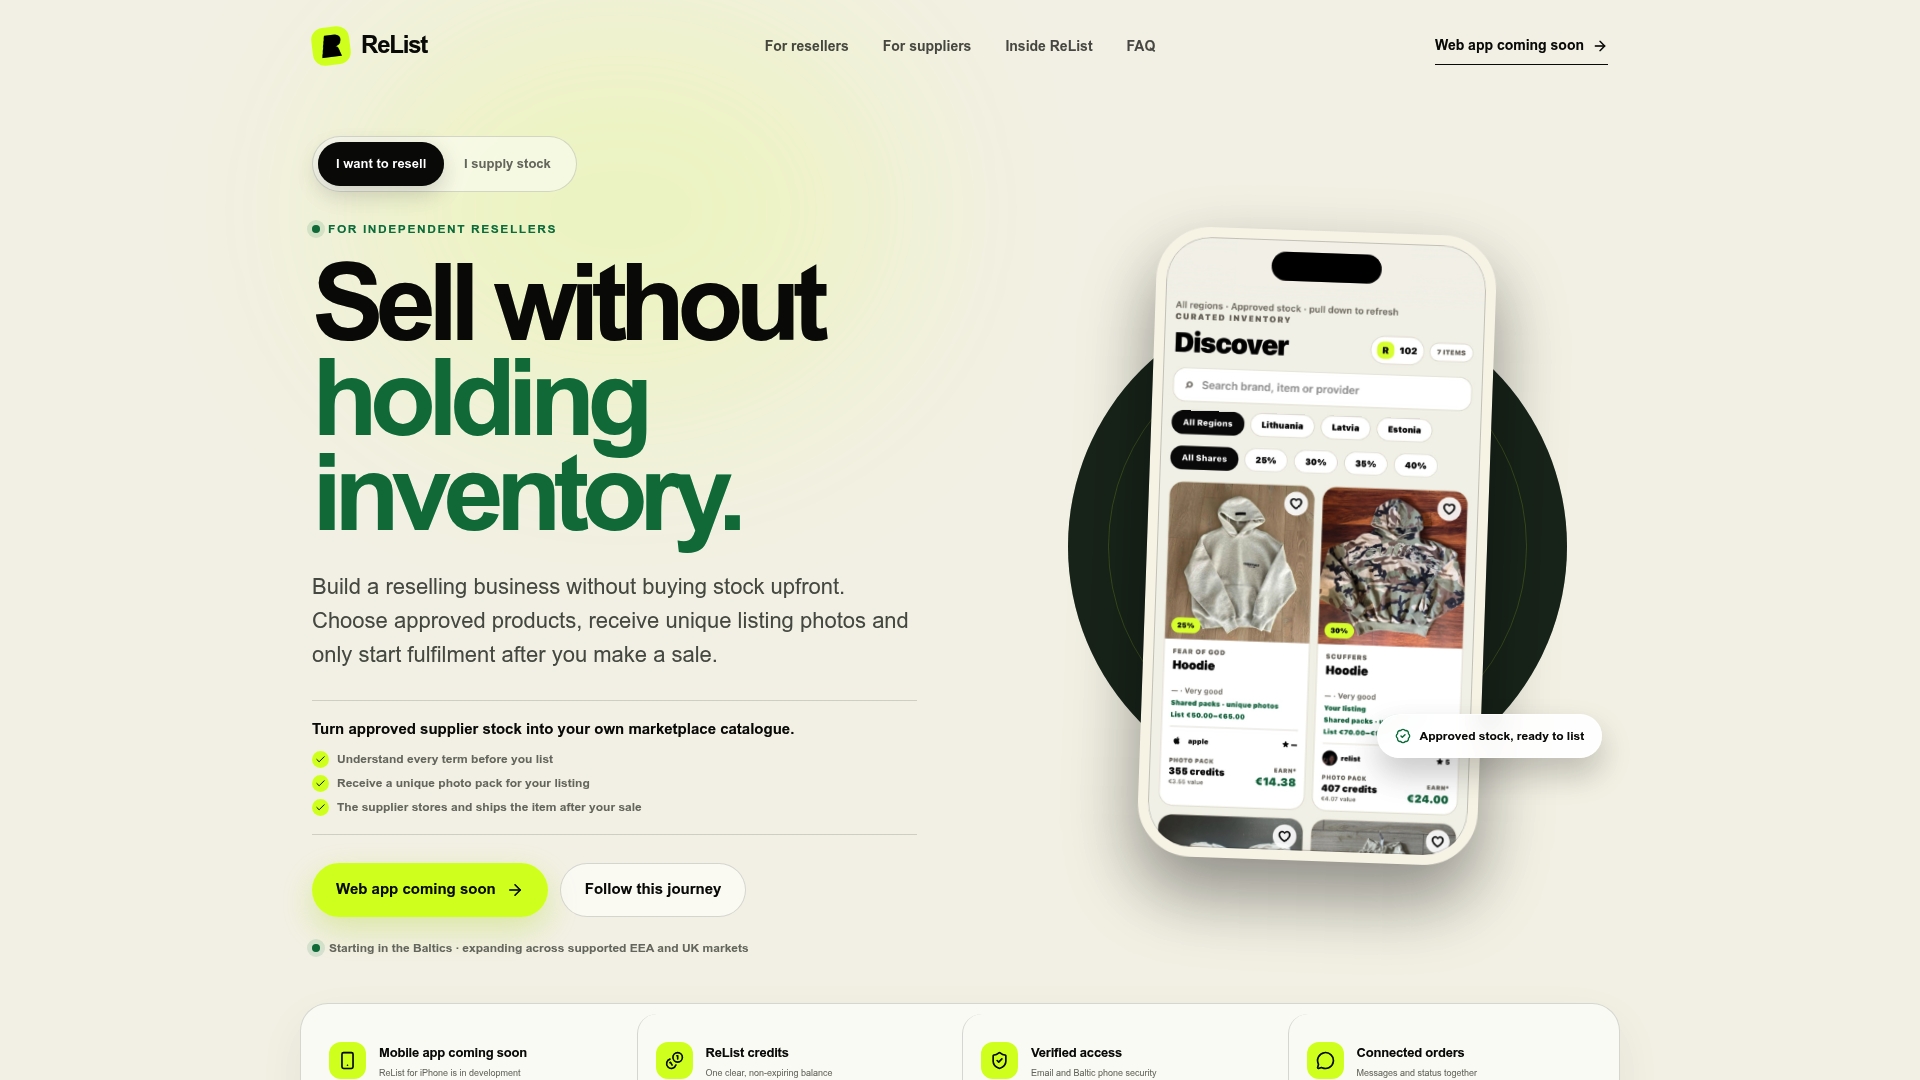
You get no upfront inventory costs, ready-made product photography, and fulfillment coordination that keeps supplier and reseller communication together. That combination is what separates ReList from listing your catalog manually across scattered channels and chasing your own order updates. If you’re ready to move from spreadsheet to storefront, start your supplier registration on ReList and get your first listing live.
Sources
- Vendor onboarding process
- Marketplace onboarding: What it looks like and how to do it
- Vendor onboarding guide
- Marketplace onboarding: Activating both sides of a two-sided product (2026)
FAQ
How Long Does Supplier Onboarding Take on ReList?
Simple, self-serve suppliers with a manual catalog can go live within hours to a couple of days. Suppliers needing document verification, multiple SKUs, or API setup should expect several days to a few weeks depending on document turnaround.
What Documents Are Required to Become a Supplier?
Individual sellers typically need a government ID and proof of address, while registered businesses need a business registration certificate, tax ID, and beneficial owner information. Sanctions and AML screening applies to higher-volume or international suppliers.
When Do I Need to Submit Payout and Tax Information?
You don’t need banking or tax details on day one. ReList collects payout and tax setup closer to your first sale, which keeps early registration friction low and matches how most effective seller onboarding flows are sequenced.
Can I Upload My Catalog in Bulk?
Yes. ReList supports single-entry listings, CSV bulk uploads for larger catalogs, and API import for suppliers syncing inventory from an existing system. Choose the method that matches your catalog size rather than defaulting to manual entry.
What Happens After My First Listing Goes Live?
Your listing enters the “live” state on the progress tracker, and resellers can view and inquire about it immediately. Track your time-to-first-sale and lean on ReList’s supplier support channel or knowledge base if a listing stalls without engagement.